.NET core local tools are here!#

One of the features of .NET core 3 is “local tools”. While global tools have been a part for .net core since version 2.1, .net core 3 brings local tools. Local tools are exactly like global tools except they are tied to a specific directory unlike global tools which are associated with the whole machine. You can find out more about global tools here.
PS: You can see all the features of version 3 here.
.net core global tools provided more opportunities for publishing and installing cli tools which are created in .net. They are very similar to npm global packages. What makes tools very accessible, is the fact that they are packaged and published as nuget packages just like any other .net library.
Here’s a great article describing how to create a global tool. And you create local tool the same way! The difference is how you install it.
Installing a tool locally#
dotnet tool install [NugetPackageName]
If you you are doing this for the first time in a directory, you will end up with an error similar to this
Cannot find any manifests file.
If you want to install a global tool, add ‘-g’. If you want to use a tool manifest, you must first create it with ‘dotnet new tool-manifest’.
What the heck is a “manifest” file?#
Local tools are manifest-file based. You need to have a manifest file in the location where you want to install a local tool. You can create a manifest file by running dotnet new tool-manifest . This will create a .config directory and inside it, an empty dotnet-tools.json file. This is the manifest file which holds a record of all the local tools that are associated with this specific location.
It’s interesting to note that local packages are not installed in local directory, but its only the manifest file that keeps getting updated.
This is how an empty manifest file looks like:
{
  “version”: 1,
  “isRoot”: true,
  “tools”: {}
}
Now if you run the command to install a tool, you find an entry in this file.
Let’s take an example of wyam.tool nuget package.
dotnet tool install Wyam.Tool
will result in a new entry in manifest file
{
  "version": 1,
  "isRoot": true,
  "tools": {
    "wyam.tool": {
      "version": "2.1.3",
      "commands": [
        "wyam"
      ]
    }
  }
}
“wyam.tool” is the name of nuget package. “version” is the version of nuget package &“commands” is a set of acceptable commands by the CLI app shipped in the nuget pacakge.
But why a manifest file?#
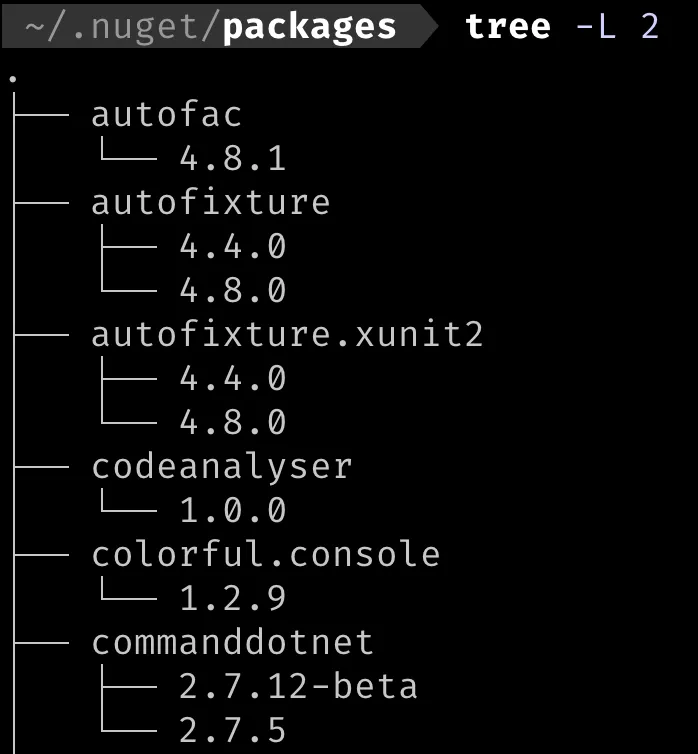
All the nuget packages are installed in ~/.nuget/packages directory by default. Because of this, with global tools it was difficult to have multiple versions of the same package installed in the same machine (for same user).
Since a manifest file is bound to a location and has versions of packages in it, it makes it possible to have multiple versions of the same tool available at different “local” locations.
Use cases of local tools#
I think these will be very useful for creating build time plugins such as code analysers, code prettifiers, artefact publishers, code transpilers, etc.
Since the project will be checkout with the manifest and thus list of required tools, the project is being checked out with it’s “build time dependencies”. Well technically, they will have to be downloaded with command dotnet tool restore for the first time. However this does remove the step of manually installing all the tools that are required in the build pipeline.
Another advantage of embedding the manifest file in version control with your code is that, the list of local tools and their versions evolve with the code and are always compatible with the code even when you checkout an older sha.